Reading the options chain
The menu of every option you can trade

Read
The first time you open an options chain it looks like a spreadsheet had a nightmare. Give me five minutes and it turns into a menu you can order from.
You already know the four parts of an option — underlying, strike, premium, expiration. The options chain is just all of those pieces for one stock, stacked into a giant table so you can compare them side by side.
Think of it as a restaurant menu. Overwhelming at first glance, but once you spot the sections — starters here, mains there, prices on the right — you stop panicking and start choosing.
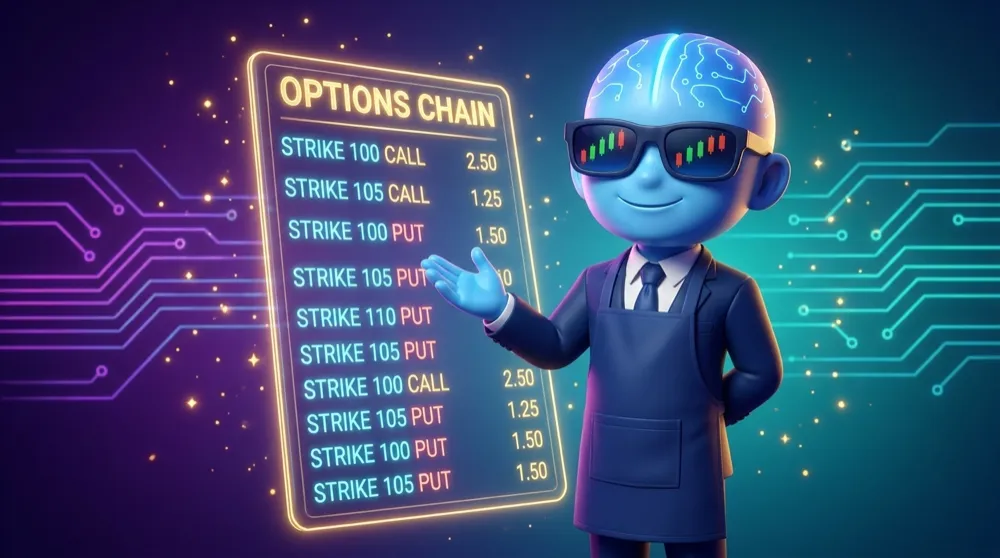
So the goal today isn’t to memorize the whole table. It’s to learn the navigation — where to look, and which handful of numbers actually matter.
Nobody reads every row of a chain, ever. You zoom straight to the expiration and strike you care about, then check a few columns. The rest is just there for context.
How the chain is laid out
Every chain follows the same shape. First you pick an expiration date — that’s the top-level filter. All the rows below it are contracts that die on that same day.
Then the strikes run down the middle of the table, low at the top to high at the bottom. Each strike gets its own row. And here’s the tidy part: calls sit on one side, puts on the other — usually calls on the left, puts on the right, with the strike column splitting them down the center.
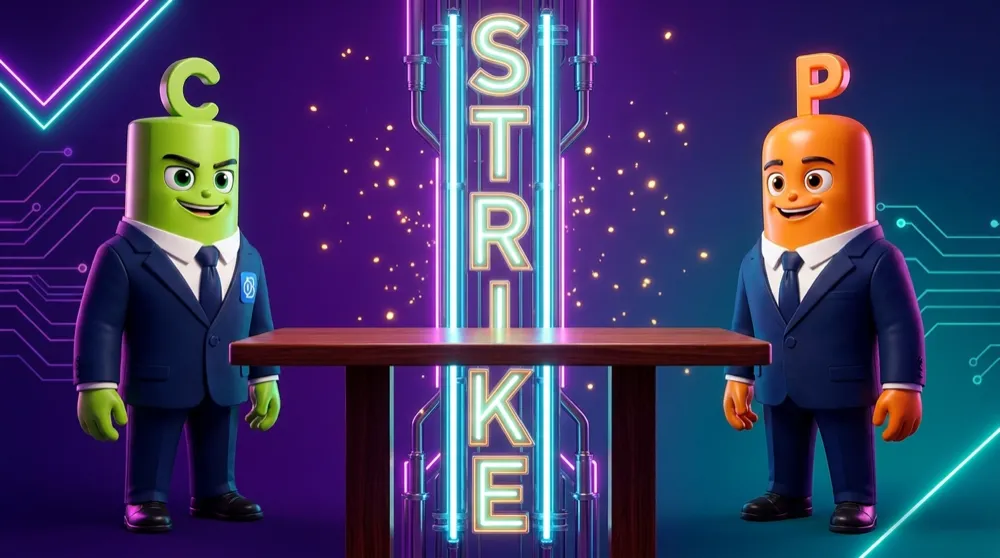
So navigating is just two moves: choose the date, then walk the strikes. Pick your expiration up top, scroll to the strike you like, glance left for the call or right for the put. That’s the entire map.
Choose the date. Walk the strikes. Left for calls, right for puts. That’s the whole chain.
The four numbers that do the work
Each cell of the chain is stuffed with columns, but four of them carry about 90% of the meaning. Learn these and you can size up any contract fast.
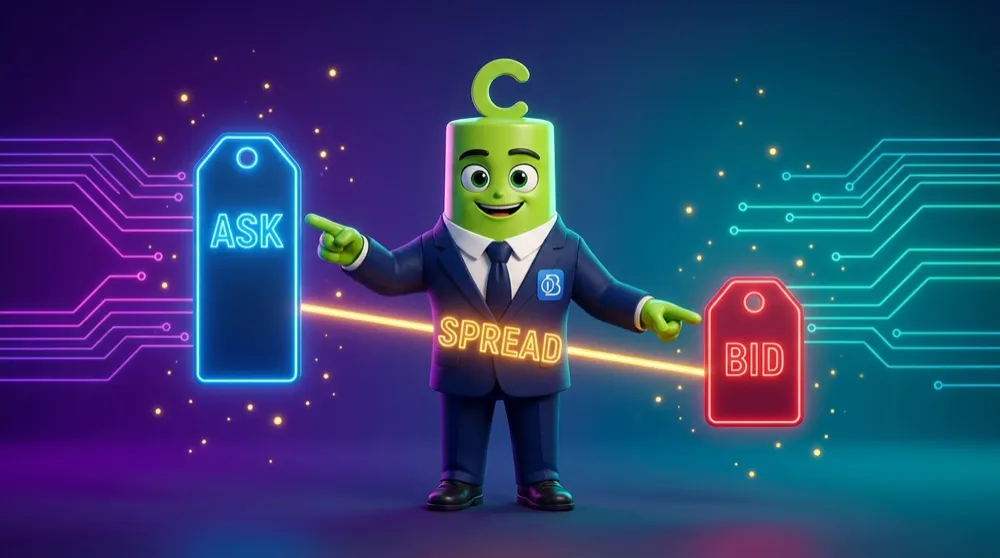
The first two are the prices. The **bid is the highest price a buyer is willing to pay right now. The ask is the lowest price a seller will accept. When _you_ buy, you pay near the ask; when you sell, you receive near the bid**. That difference between them has a name.
The **spread is simply ask − bid. If the bid is $4.80 and the ask is $5.00, the spread is $0.20**. It’s the invisible toll you pay to get in and out — and the tighter it is, the cheaper the round trip.
The other two numbers tell you how alive a contract is. **Volume is how many contracts changed hands today — the buzz right now. Open interest** is how many contracts exist in total, still open and unclosed — the standing crowd. High numbers on both mean lots of people are trading it.
Why care? Because activity equals **liquidity** — the ease of getting in and out at a fair price. A busy contract has a tight spread and a fast fill. A dead one has a wide spread, and you’ll overpay just to open a position nobody else wants.
A strike with almost no volume or open interest is a trap. The spread balloons, so you buy high and can only sell low — you’re down money the instant you click. Stick to liquid strikes while you’re learning.
That’s the chain, demystified: a menu sorted by date and strike, with four numbers telling you the price and the crowd. Next stop — the last day of an option’s life, where expiration finally comes due. 🎉